Loading subject page…

- Cell Biology
- Visualizing Cells, Tissues, and Molecules
- Preparation of Samples for Electron Microscopy
Micro-course: Visualizing Cells, Tissues, and Molecules
138,515 views
Learn key concepts and earn your certificate.



Preparation of Samples for Electron Microscopy

00:00
01:20
Video Summary: Preparation of Samples for Electron Microscopy Explained
Ever wonder how researchers at the CDC can visualize virus particles just 100 nanometers wide? The preparation of samples for electron microscopy requires meticulous steps to prevent damage from powerful electron beams and vacuum conditions. From chemical fixation with glutaraldehyde to sputter-coating with gold, each technique ensures biological specimens survive the imaging process while maintaining structural integrity. Watch the full video on JoVE Coach to master this concept with expert-led visuals and step-by-step explanations.
- Understand the fundamental principles behind preparation of samples for electron microscopy and why specialized techniques are essential for specimen survival
- Identify the key differences between TEM and SEM sample preparation protocols, including embedding versus coating procedures
- Analyze the role of chemical fixatives like glutaraldehyde and osmium tetroxide in preserving cellular structures during processing
- Compare dehydration methods using ethanol versus acetone and their impact on preventing sample shrinkage
- Evaluate the importance of heavy metal staining with uranyl acetate for creating image contrast in electron microscopy
- Apply critical point drying techniques to understand how liquid carbon dioxide removes water without structural collapse
- Recognize why conductive metal coatings like gold are necessary for SEM imaging quality
- Explore the connection between sample thickness and electron beam penetration in ultrathin sectioning
Understanding Preparation of Samples for Electron Microscopy Fundamentals
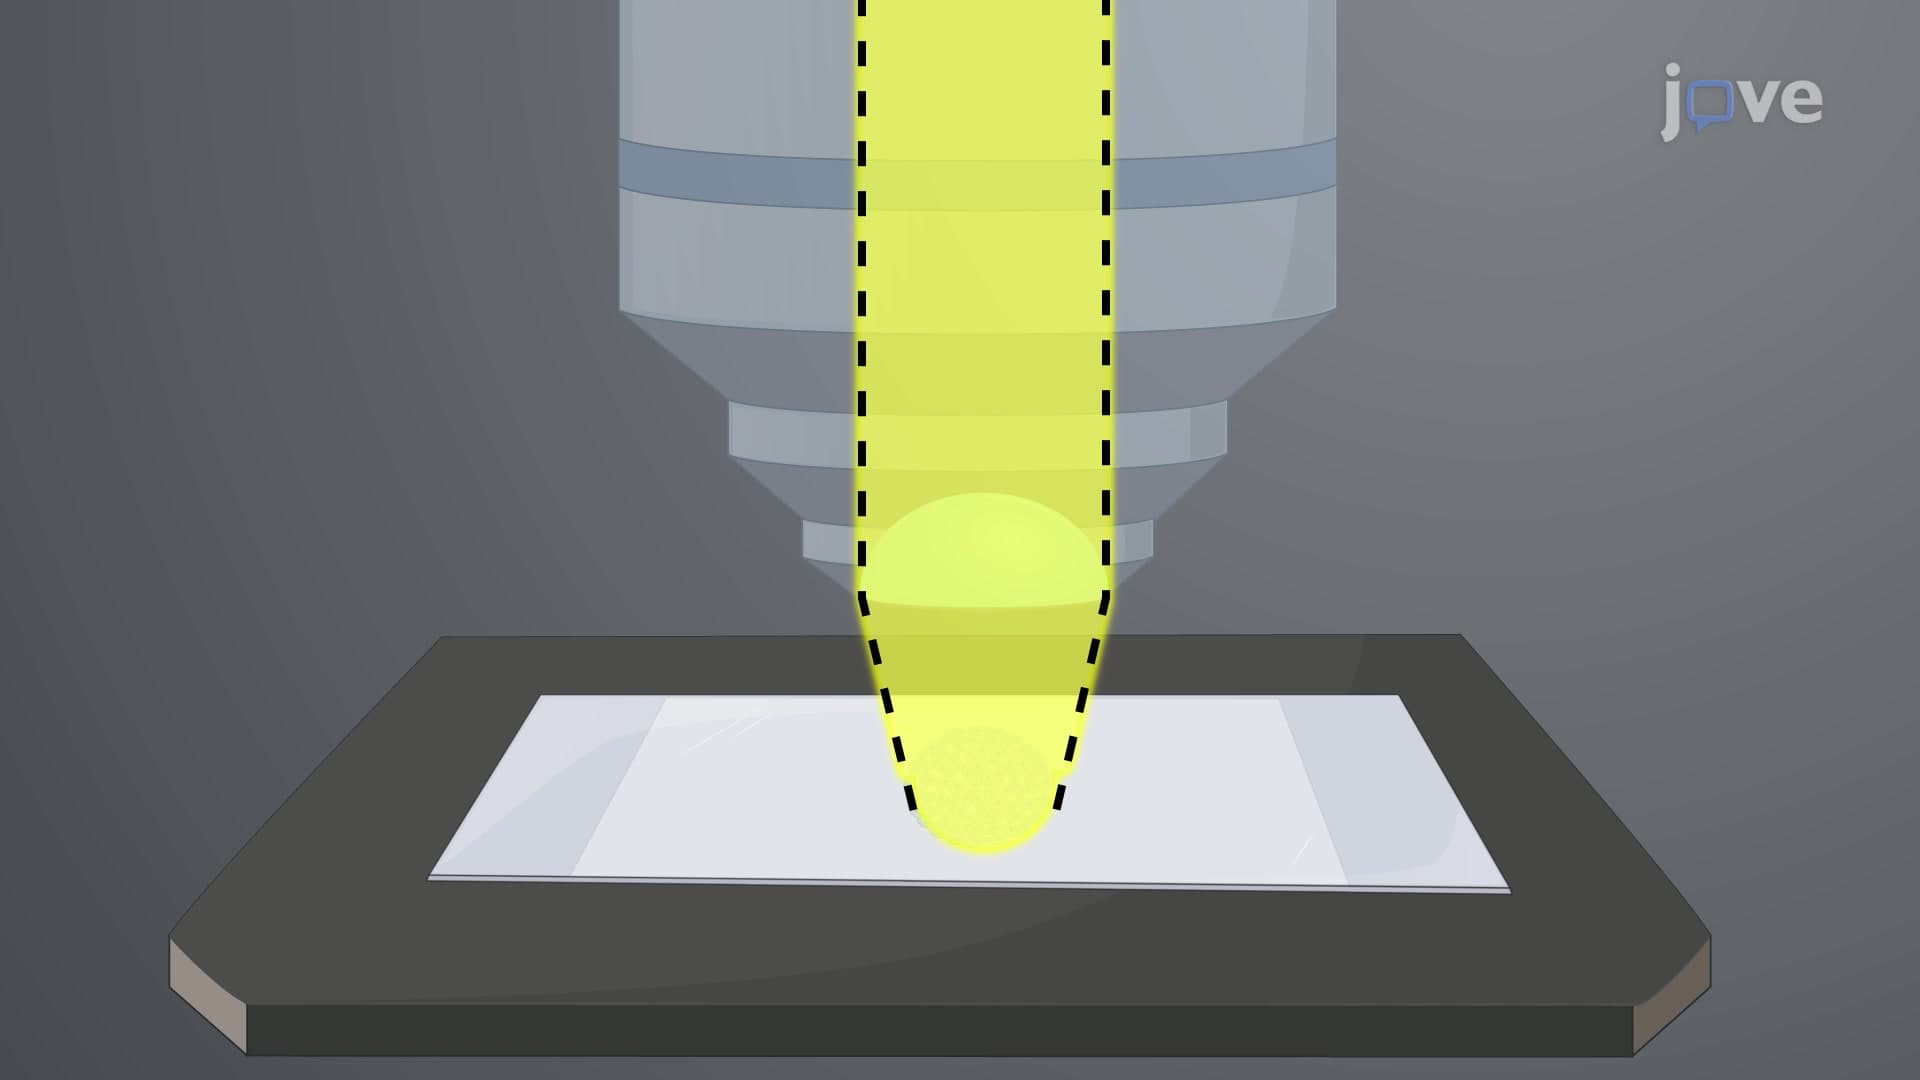
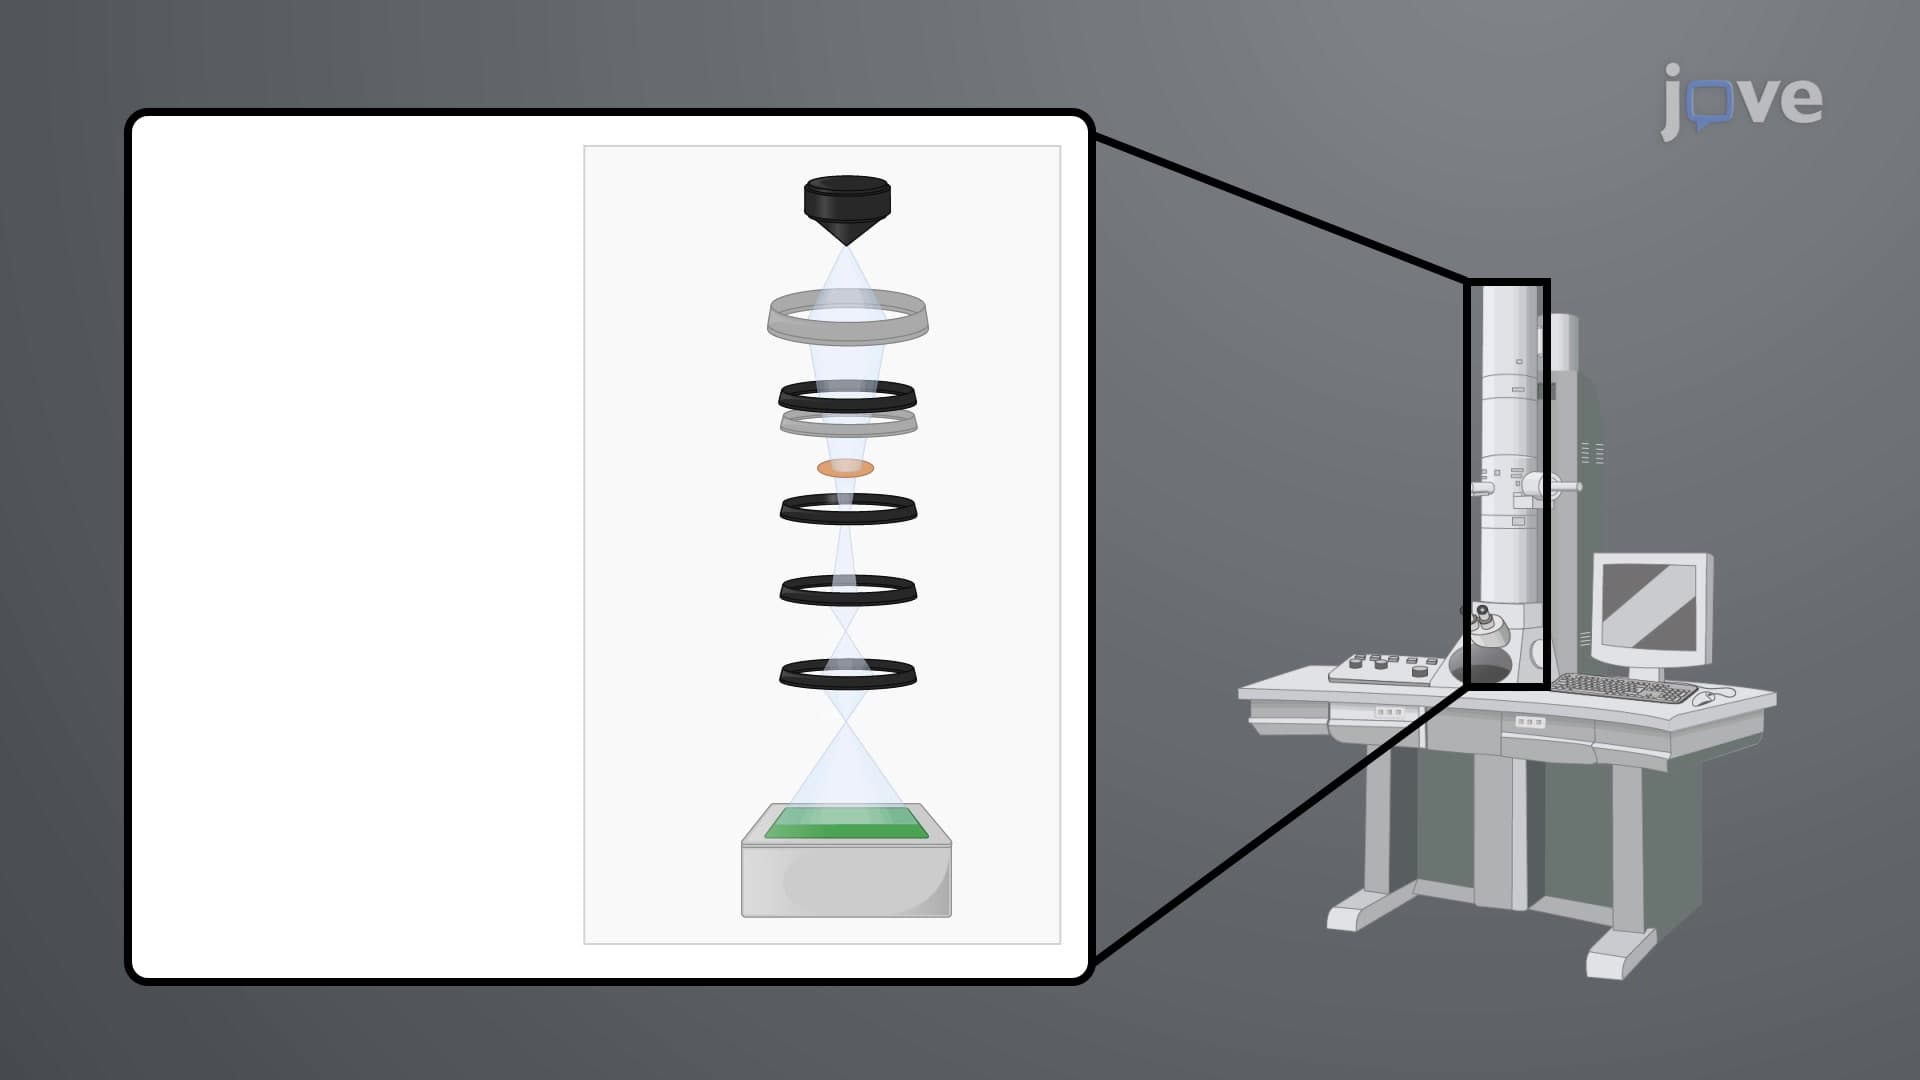
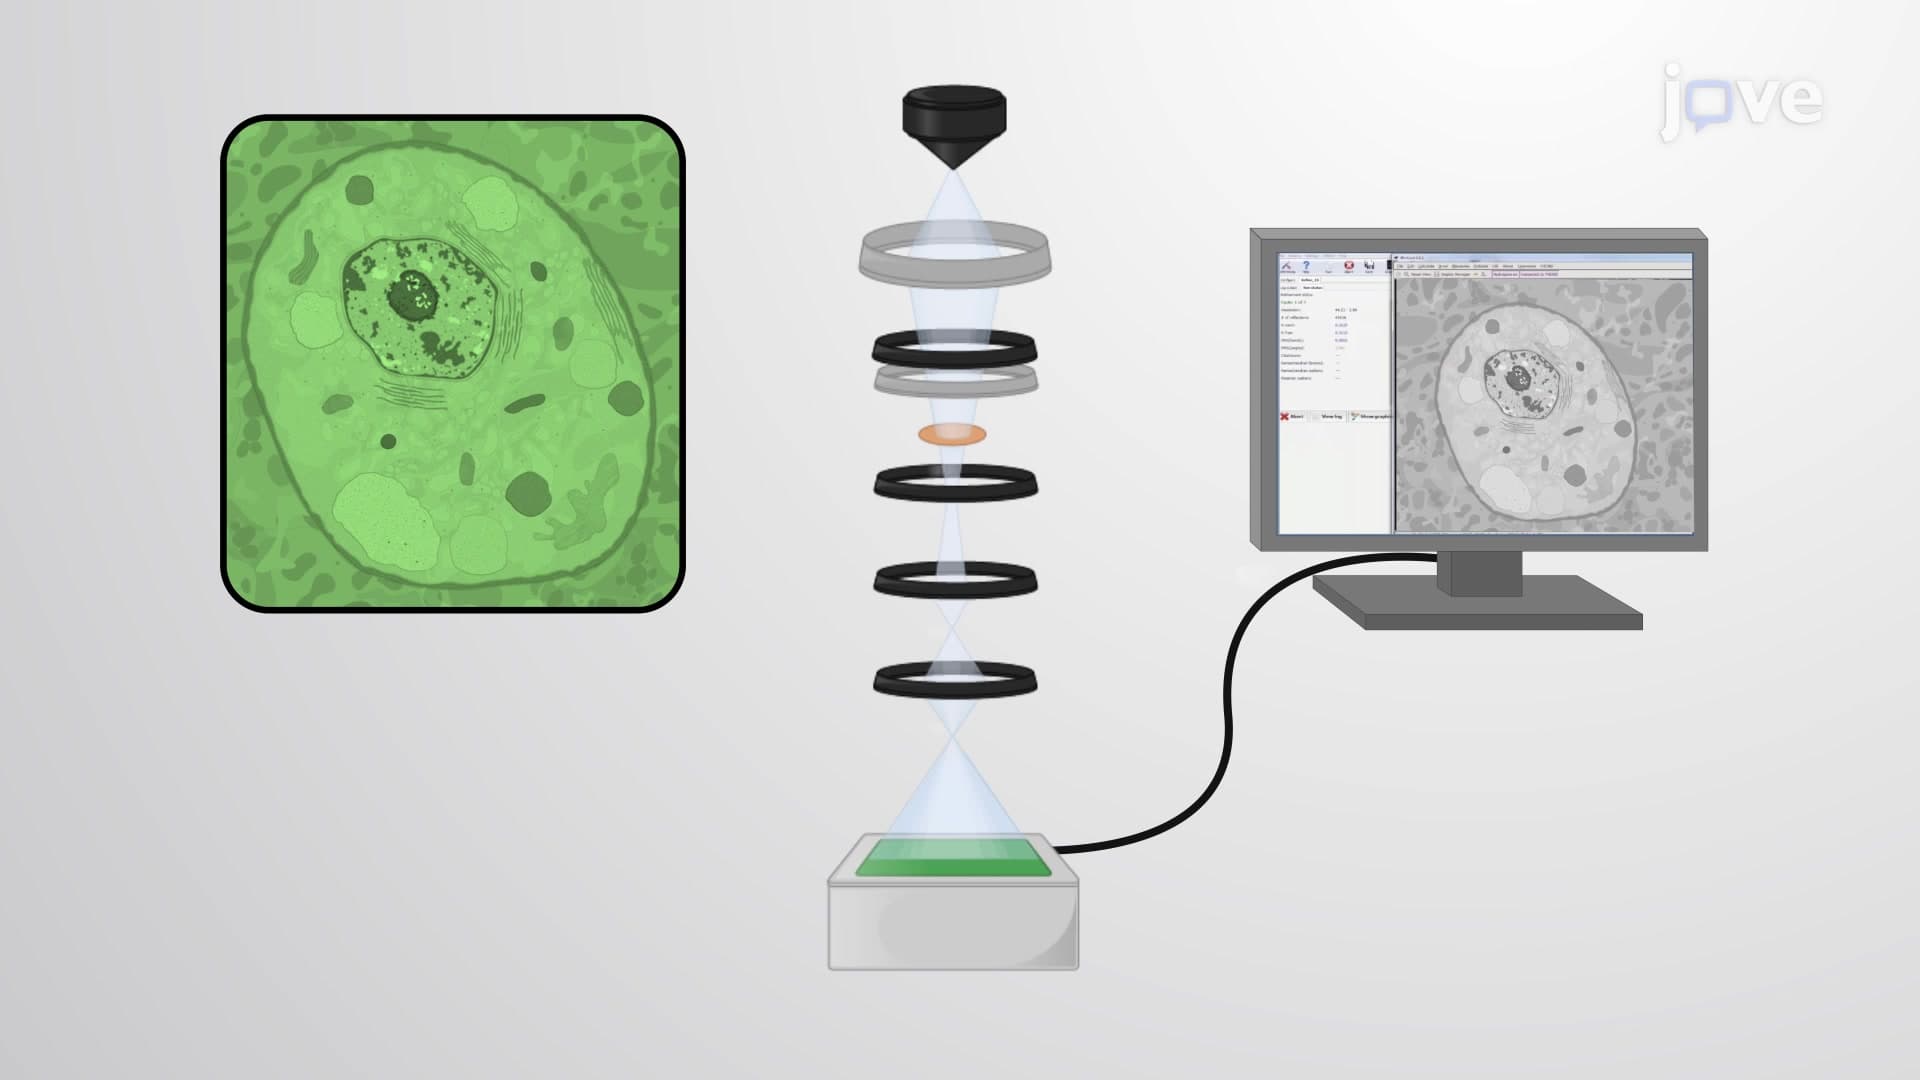
The preparation of samples for electron microscopy represents one of the most technically demanding aspects of modern biological research. Unlike light microscopy, where living cells can be observed directly, electron microscopy requires extensive specimen processing to withstand the harsh conditions inside the microscope. The electron beam carries thousands of times more energy than visible light, while the high vacuum environment would instantly destroy unprepared biological material.
This concept frequently appears on AP Biology exams and college-level cell biology courses, where students must understand the relationship between sample preparation techniques and image quality. Medical school entrance exams like the MCAT often test knowledge of electron microscopy applications in research and diagnostics.
Chemical Fixation: The Foundation of Sample Preservation
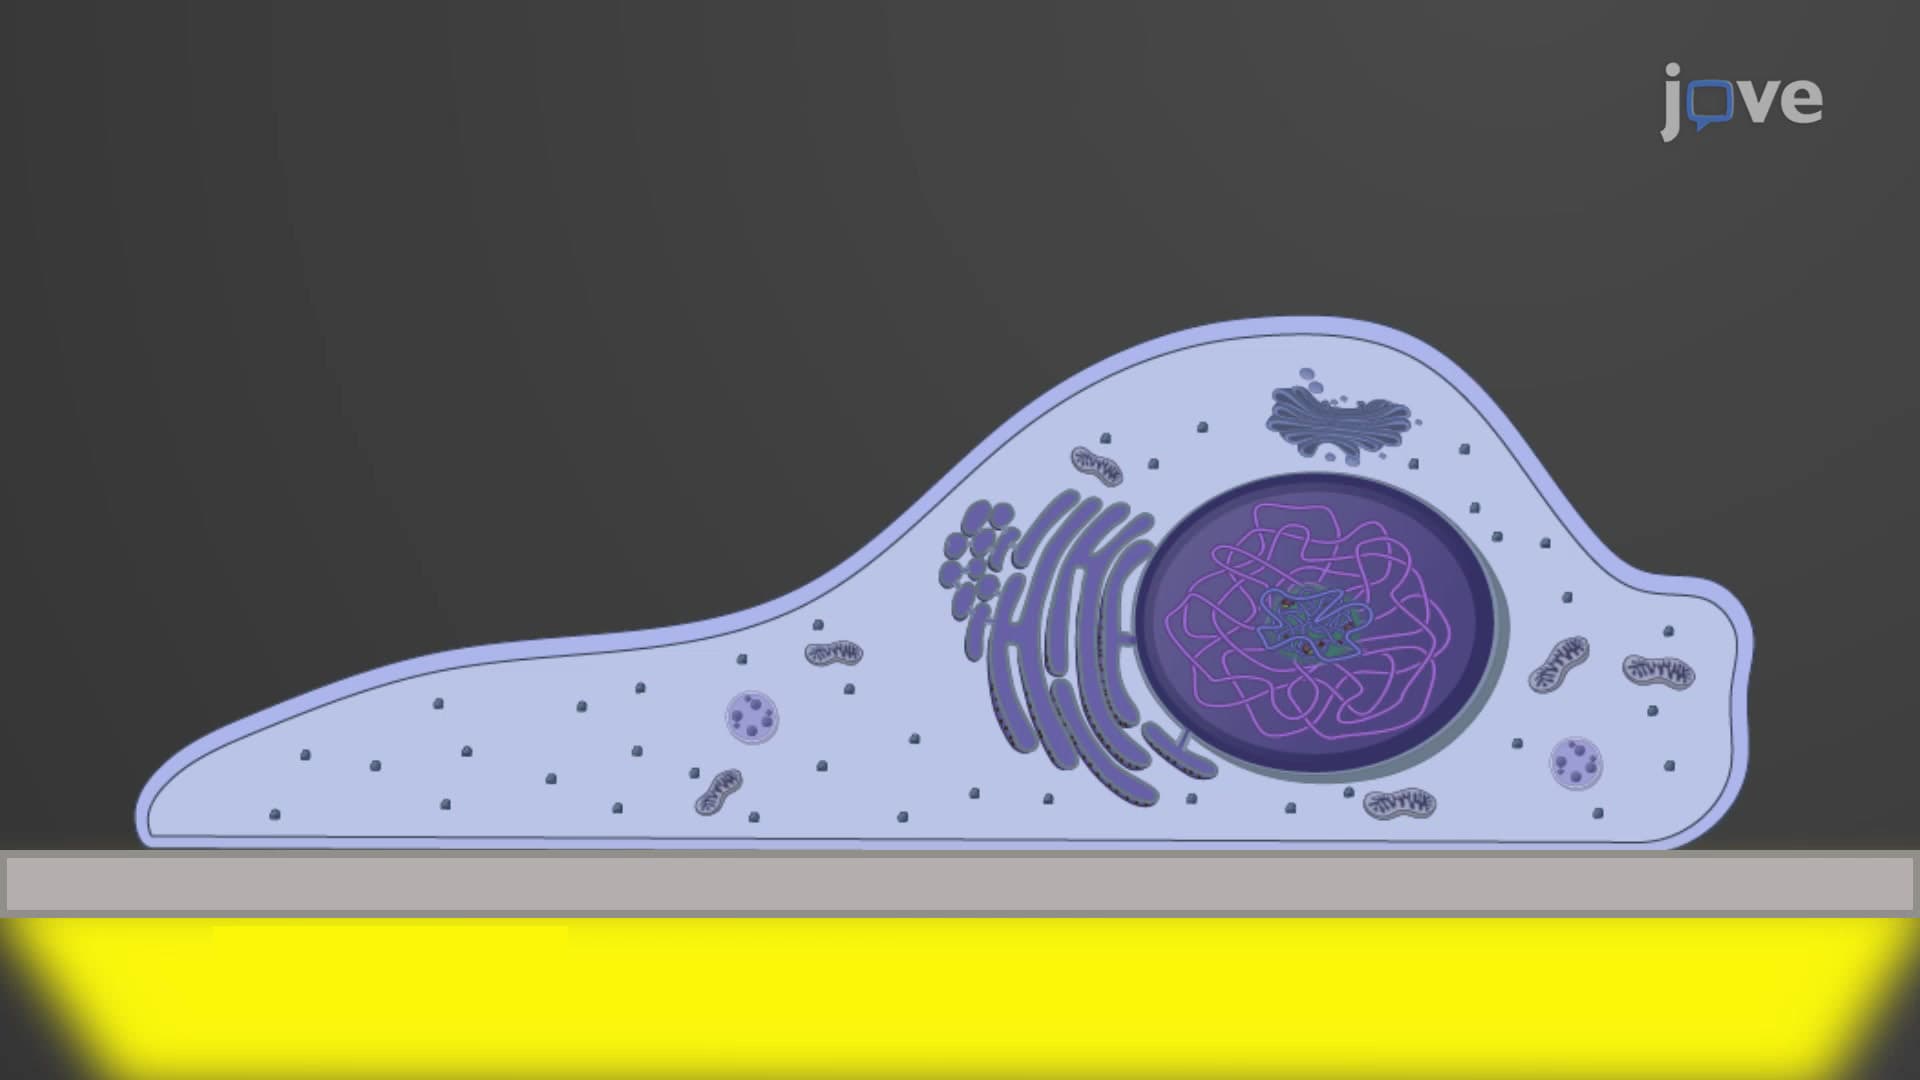
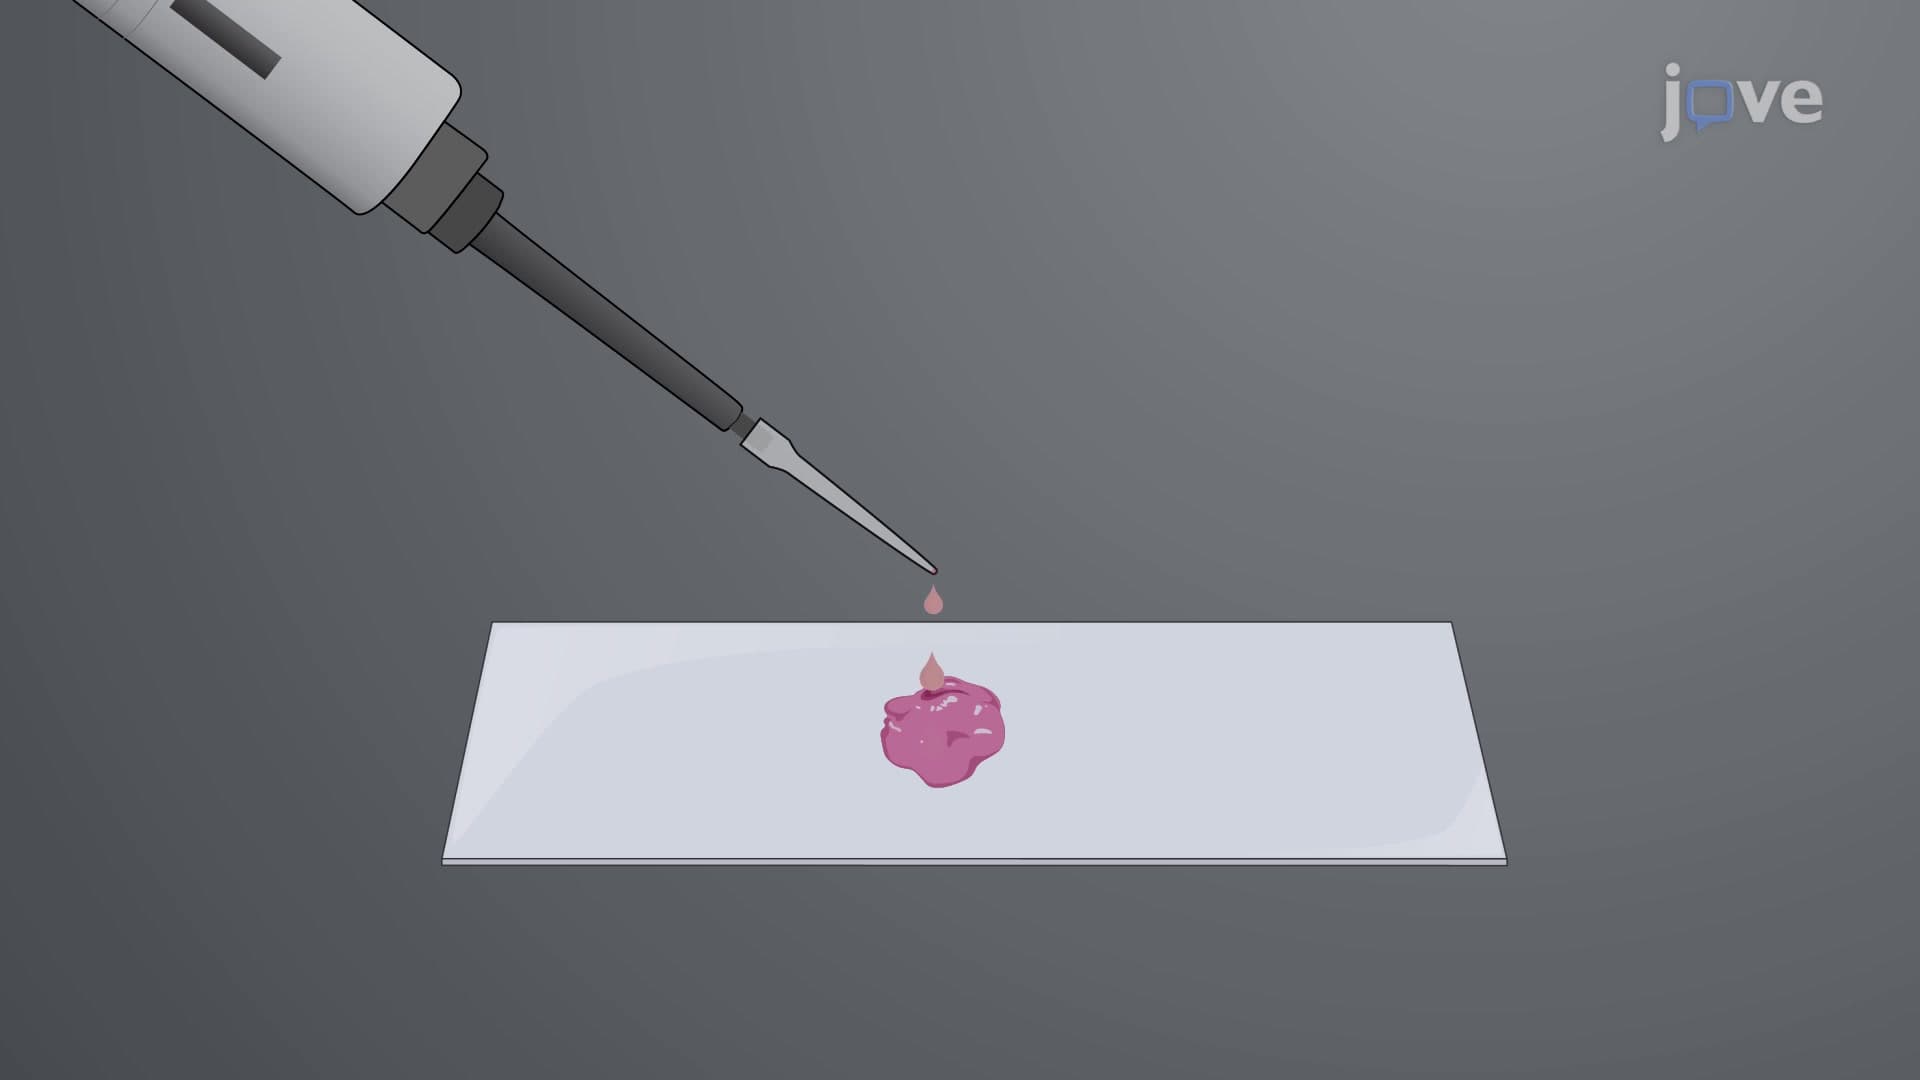
Chemical fixation serves as the cornerstone of electron microscopy sample preparation. Glutaraldehyde, a dialdehyde compound, creates cross-links between amino groups in proteins, effectively "freezing" cellular structures in their native state. This process prevents enzymatic degradation and maintains organelle morphology during subsequent processing steps.
Osmium tetroxide plays a complementary role by binding specifically to lipid molecules in cell membranes. Research laboratories at institutions like Johns Hopkins and Stanford rely on this dual-fixation approach to study membrane-bound organelles and lipid bilayer structures. The combination ensures both protein and lipid components remain stable throughout the lengthy preparation process.
Dehydration and Embedding Strategies
The gradual dehydration process using increasing concentrations of ethanol or acetone removes water molecules that would interfere with electron beam transmission. This step-wise approach, typically progressing from 50% to 100% solvent concentration, prevents the rapid volume changes that cause cellular collapse.
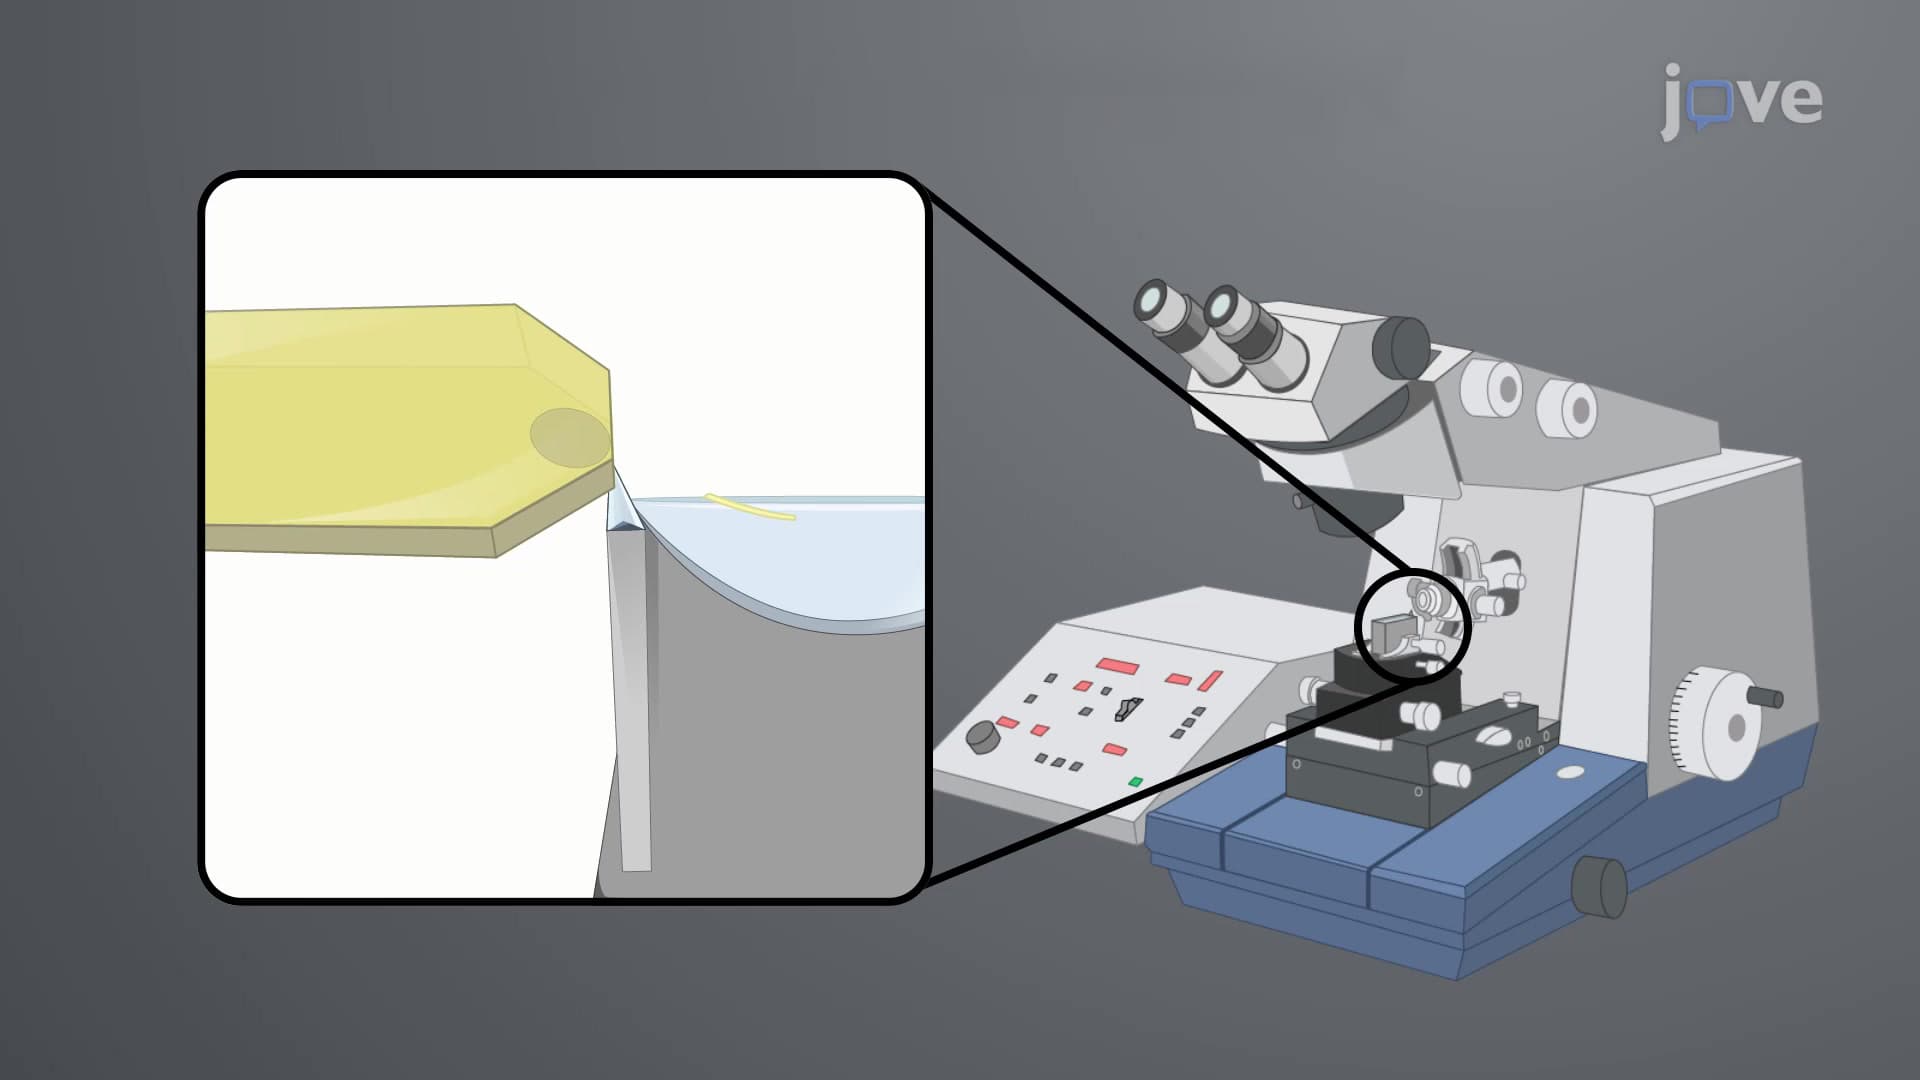
For transmission electron microscopy (TEM), specimens undergo embedding in epoxy resins that provide structural support during ultrathin sectioning. The ultramicrotome, a precision instrument capable of cutting sections just 60-80 nanometers thick, creates specimens thin enough for electron penetration while maintaining structural integrity.
Surface Preparation for Scanning Electron Microscopy
Scanning electron microscopy (SEM) requires different preparation strategies focused on surface preservation rather than internal structure visualization. Critical point drying using liquid carbon dioxide represents an elegant solution to the surface tension problem that would otherwise distort delicate cellular surfaces.
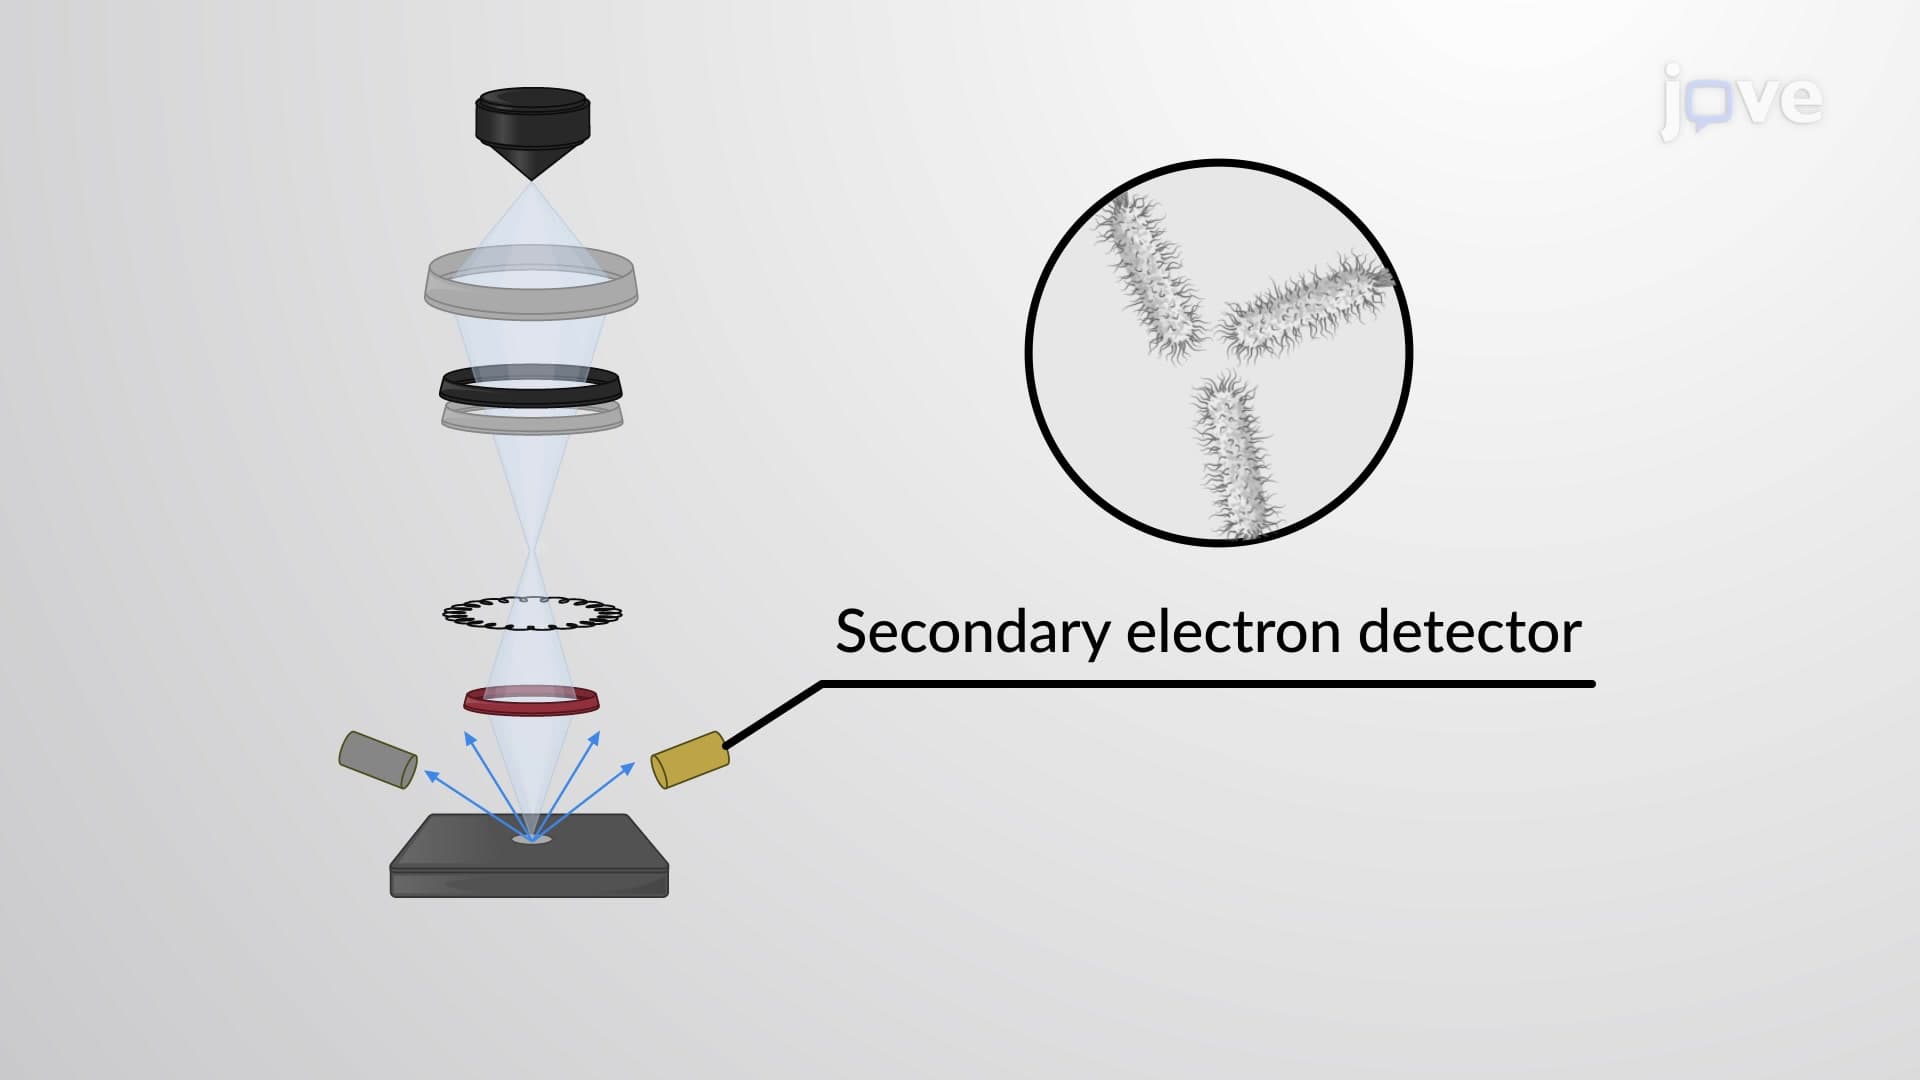
The final sputter-coating step deposits a thin layer of conductive metal, typically gold or platinum, across the specimen surface. This coating prevents charge buildup during imaging while enhancing secondary electron emission, resulting in the sharp, high-contrast images characteristic of SEM. Research facilities at the National Institutes of Health routinely use these techniques to study everything from bacterial biofilms to cancer cell morphology.
Frequently Asked Questions
Preparation of samples for electron microscopy involves chemical fixation, dehydration, and specialized treatments to protect biological specimens from electron beam damage and vacuum conditions. This multi-step process preserves cellular structures while making them compatible with the high-energy environment inside electron microscopes. Without proper preparation, biological samples would be instantly destroyed by the powerful electron beam.
The MCAT frequently tests understanding of electron microscopy principles in biological research contexts, particularly comparing TEM and SEM applications. AP Biology exams focus on relating sample preparation techniques to cell structure visualization and scientific methodology. Students should understand why chemical fixation is necessary and how different preparation methods enable specific types of cellular analysis.
College exams typically cover the chemical rationale behind glutaraldehyde fixation, the purpose of osmium tetroxide treatment, and differences between TEM embedding versus SEM coating procedures. Students should understand the step-by-step dehydration process and explain why gradual solvent replacement prevents structural damage. Many professors ask students to predict what happens when preparation steps are omitted or performed incorrectly.
Major US research hospitals like Mayo Clinic and Cleveland Clinic use electron microscopy sample preparation to diagnose rare diseases, study cancer cell morphology, and investigate infectious disease mechanisms. Pathology laboratories employ these techniques to examine kidney biopsies, identify viral particles in patient samples, and characterize genetic disorders affecting cellular organelles. The CDC relies on electron microscopy for rapid identification of emerging pathogens during disease outbreaks.
While the techniques require specialized equipment, the underlying concepts are accessible to high school students with basic chemistry knowledge. Understanding chemical cross-linking, solvent properties, and vacuum effects provides excellent preparation for advanced biology courses. Many students find the logical progression from fixation through final imaging helps reinforce concepts about protein structure, membrane biology, and scientific methodology.
Create a flowchart showing the complete preparation pathway from living cells to final images, noting the purpose of each step and consequences of errors. Practice explaining why each chemical treatment is necessary and how it preserves specific cellular components. Focus on comparing TEM versus SEM requirements, as this distinction frequently appears on standardized tests and helps demonstrate understanding of the underlying principles.
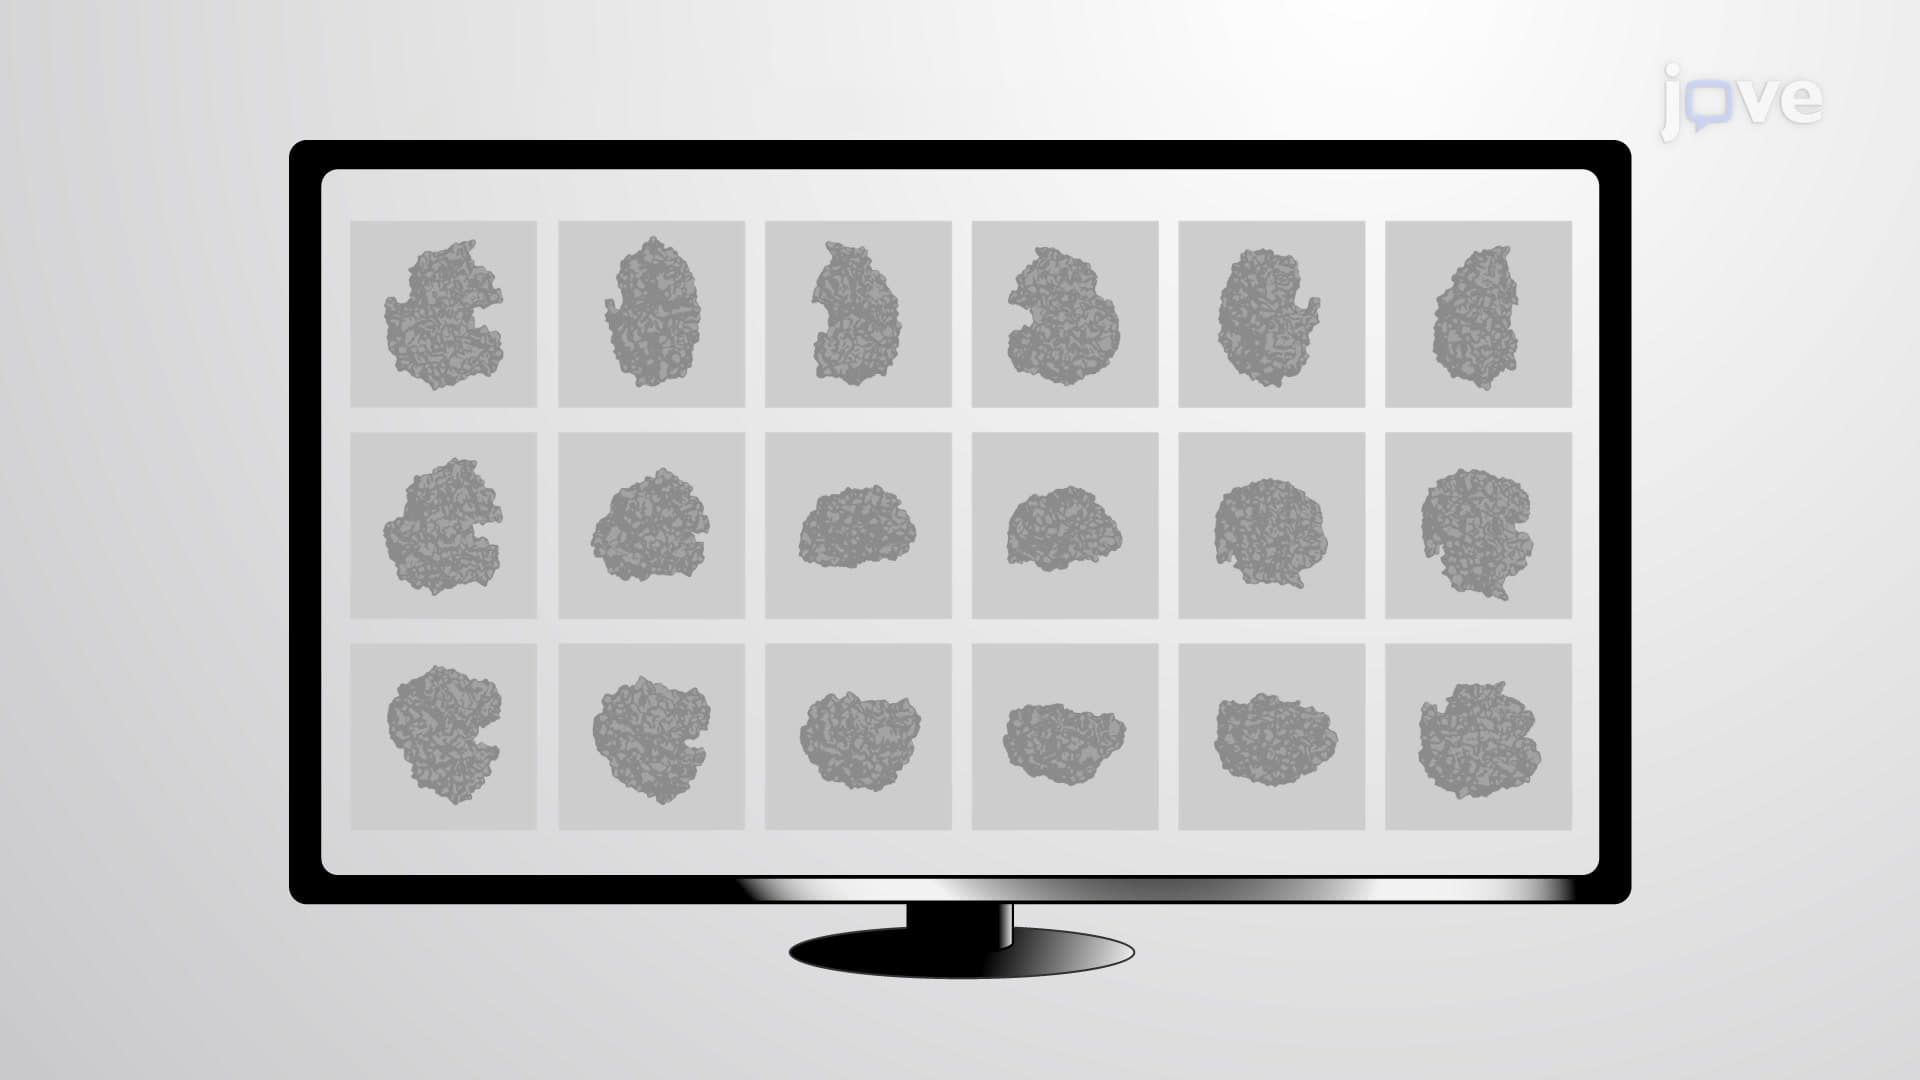
Students interested in research careers should investigate cryo-electron microscopy techniques, which preserve specimens in near-native states without chemical fixation. Immunoelectron microscopy combines antibody labeling with electron microscopy for protein localization studies. Advanced imaging methods like electron tomography create three-dimensional reconstructions of cellular structures, representing the cutting edge of biological electron microscopy.
Poor fixation can create shrinkage artifacts that distort organelle shapes, while incomplete dehydration causes contrast problems in final images. Over-fixation with osmium tetroxide can mask protein structures, making it difficult to identify specific cellular components. Understanding these potential problems helps researchers optimize protocols and correctly interpret experimental results, skills essential for graduate research and professional laboratory work.
Related Micro-courses